10 Steps to Achieve a Salon-Quality Mani at Home

Advantages of DIY Manicures
Before we get into the finer details of the manicure process, let's talk about why doing your nails at home is a great idea:
-
Convenience: You can do your nails whenever it suits your schedule.
-
Customization: Choose your favorite nail polish colors and styles that you can master yourself.
-
Cost Effectiveness: Save money in the long run by investing in quality nail tools and products you can use for many manicures to come.
-
Hygiene: You have control over the cleanliness of your tools and space.
-
Relaxation: Enjoy a spa-like experience in the comfort of your home.
Essential Manicure Tools
To achieve a salon-quality manicure in the comfort of your home, you'll need a selection of manicure tools and products. Some of the tools you’ll need for your at-home mani include:
-
Revlon® Full Jaw Cuticle Nipper: precision-crafted blades are designed to maintain clean cuticles.
-
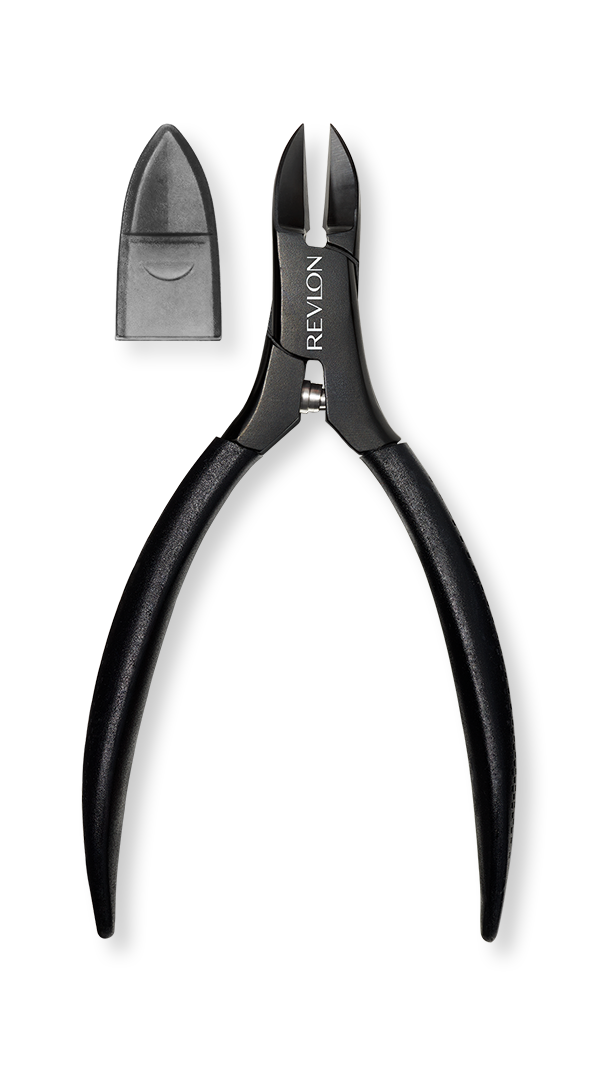
No Ricochet Nail Nipper: designed for precise, mess-free nail trimming.
-
Revlon® Curved Blade Cuticle Scissors: the fine, curved blades are ideal for shaping cuticles.
-
Revlon® Stainless Steel Nail Groomer: For pushing back cuticles and cleaning under the nails.
-
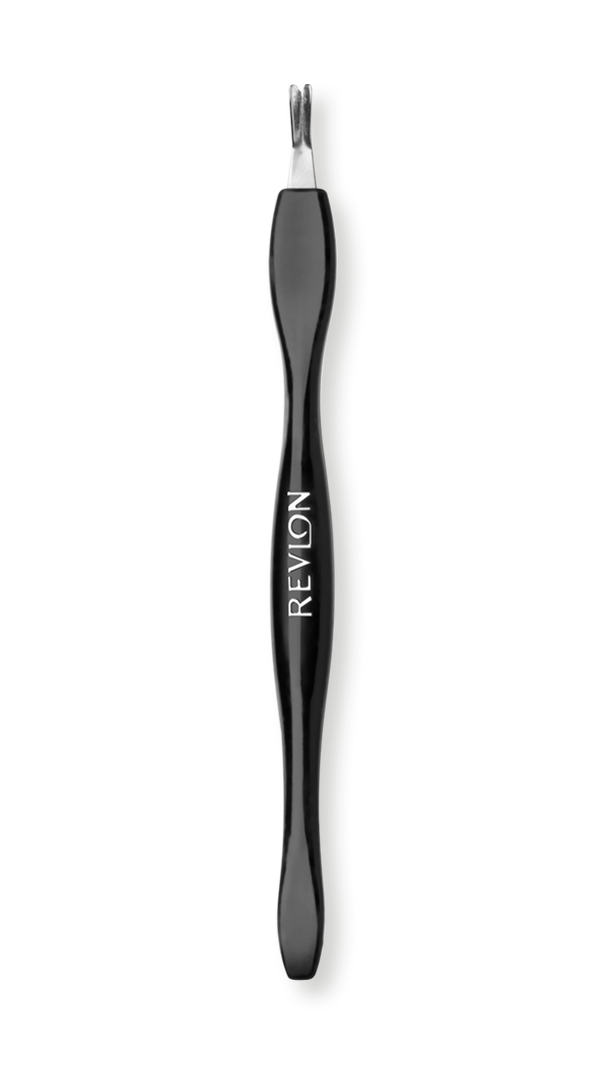
Revlon® Cuticle Trimmer with Cap: A handy tool to trim cuticles that remains neat with a clean cap.
-
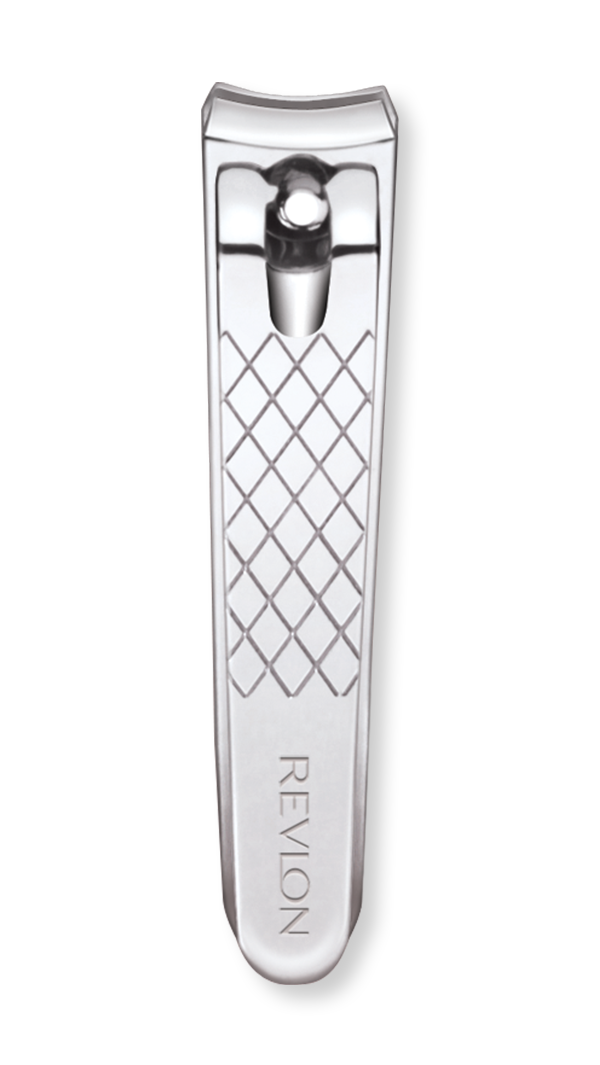
Catch-All Nail Clipper: Are designed to last many manicures with durable steel that trims your nails precisely and neatly.
-
Nail Polish: Choose your favorite colors from our collection of quality nail color.
-
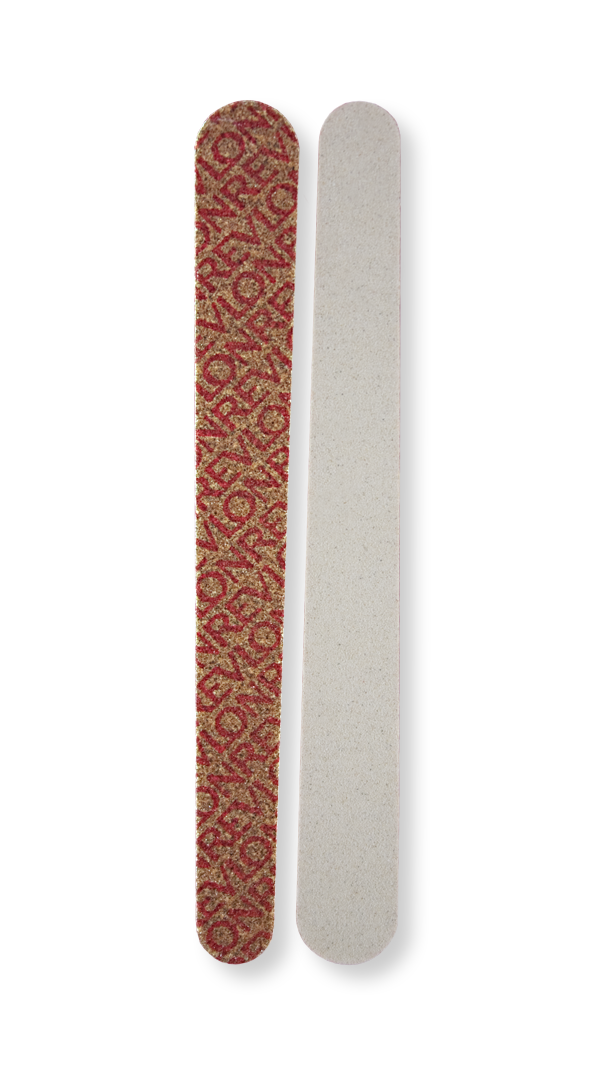
Revlon® Compact Emery Boards: Our compact emery boards are perfect for shaping and smoothing your nails.
Now that you have your tools ready, let's get started on your DIY manicure with our 10 steps to achieving a salon-quality manicure at home.

Step 1: Wash Your Hands
Begin by thoroughly washing your hands to remove any dirt, oil or residue from your nails. Clean nails provide a better surface for nail polish application.
To wash your hands effectively, simply follow these steps:
-
Start by wetting your hands with warm water.
-
Apply a gentle soap or hand wash and lather up, ensuring you scrub between your fingers and under your nails.
-
Rinse your hands thoroughly with warm water and pat them dry with a clean towel.
Step 2: Remove Previous Nail Polish
Use nail polish remover and cotton pads to completely remove any existing nail polish. This step ensures that your new polish adheres properly and looks flawless. To set yourself up for mani success, prep your base first with nail polish removal:
-
Gather Your Supplies: You'll need nail polish remover, preferably acetone-free which is gentler on nails without compromising results, and soft cotton pads.
-
Apply Nail Polish Remover: Soak a cotton pad with nail polish remover and press it onto your nail for a few seconds. Ensure the cotton pad covers the entire nail surface.
-
Wipe Away Old Polish: Gently wipe the cotton pad in one direction, moving from the base of the nail towards the tip. Avoid scrubbing back and forth, as this can damage your nails.
Step 3: Trim and File Nails to the Desired Length and Shape
Trimming and shaping your nails to your desired length and shape is essential before applying any nail products. Here's how to do it effectively:-
Trimming: Start by using high-quality nail clippers to trim your nails to the desired length. Trim straight across to prevent ingrown nails.
-
Filing: Next, use an Emery board to shape your nails. File in one direction to avoid splitting or breaking the nail. File your nail in your desired shape such as round, oval, or square.
-
Clean Under Your Nails as Needed: At this stage you may also want to clean under your nails more thoroughly to ensure there is no excess dirt present.
Step 4: Soak Nails and Care for Cuticles
This step involves softening the cuticles and deciding whether to trim or gently push them back, depending on your preference. Here's how to do it using tools from Revlon's collection:
-
Soaking: Begin by soaking your nails in warm, soapy water for a few minutes. This softens the cuticles and makes them easier to work with.
-
Cuticle Care: If you prefer to trim your cuticles, use a high-quality cuticle nipper to carefully trim any excess cuticle. Be gentle and only trim what is necessary to avoid over-trimming.
-
Pushing Back: If you prefer to push back your cuticles, use a cuticle trimmer. Gently push the cuticles away from the nail bed using the rounded end of the tool.
Step 5: Exfoliate and Moisturize Hands
Before you move on to nail care and polish application, give your hands some extra care. Exfoliating and moisturizing your hands not only nourishes the skin but also contributes to the overall professional look of your manicure. Here's how to do it properly:
-
Exfoliation: Use a gentle hand scrub or exfoliating mitt to remove dead skin cells from your hands. Gently massage the scrub in circular motions, paying attention to dry areas like the knuckles and the back of your hands. Rinse thoroughly.
-
Moisturization: Apply a nourishing hand cream or lotion to hydrate and soften your skin. Massage the cream into your hands, including the cuticle area, for a few minutes.
Step 6: Choose a Color You Love
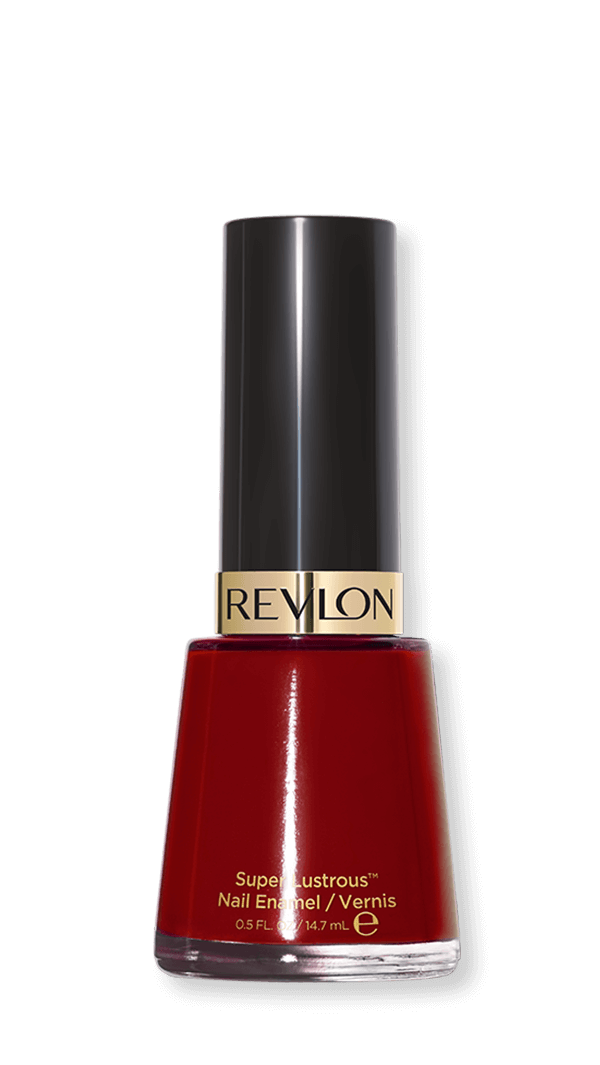
One of the joys of doing your nails at home is the freedom to express your style with a wide range of nail polish colors. Whether you're building a collection or have a favorite shade in mind, the possibilities are endless. We offer a wide range of nail polish colors in formulas like Revlon Super Lustrous™ Nail Enamel, a chip-resistant nail color infused with Vitamin E that dries in no time.
Step 7: Apply Base Coat
The base coat serves multiple purposes, such as helping your nail polish apply smoothly, preventing excessive chipping, and protecting your nails from potential discoloration like yellowing. To apply the base coat effectively, follow these steps:
-
Prepare Your Nails: Ensure your nails are clean and dry before applying the base coat. You can quickly wipe them with nail polish remover again so they’re free from moisturizer or oils.
-
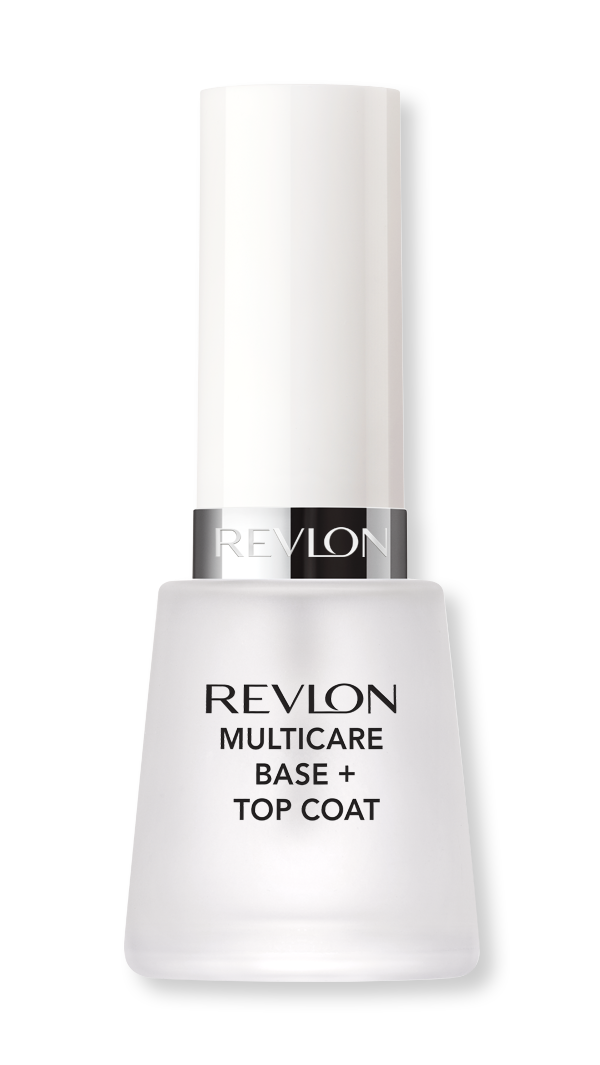
Apply the Base Coat: Use a high-quality base coat like Multicare Base + Top Coat. Apply a thin, even layer to each nail, starting from the base and moving toward the tip.
-
Allow to Dry: Let the base coat dry for a few minutes before proceeding with your chosen nail polish color.
Step 8: Apply Your Nail Polish
Achieving a professional-looking manicure requires proper nail polish application techniques. Here are the key steps to follow:
-
Mix the Polish: Before starting, gently roll the bottle of nail color between your palms to mix the polish. Avoid shaking, as it can create air bubbles.
-
Thin Coats: For each nail, dip the brush into the bottle and apply a thin, even coat of nail polish. Start in the center near the cuticle, then sweep the brush to the edge of the nail. Repeat as needed, ensuring full coverage.
-
Dry Between Coats: Allow the first coat to dry for approximately 2 minutes. Once it's dry to the touch, apply a second coat for a vibrant and even color.
Step 9: Finish Your Mani With a Top Coat
Seal your manicure with a top coat like Revlon Multicare Base + Top Coat for added shine and long-wearing benefits. Here are tips for applying the top coat effectively:
-
Dryness Check: Ensure your nail polish is adequately dry before applying the top coat. A good way to check is to gently touch your nails together. If they feel slightly tacky, give them a bit more time to dry.
-
Smooth Application: Apply the top coat evenly, starting from the base and moving towards the tip of each nail. Be careful not to smudge the nail polish underneath.
-
Seal the Edges: Pay extra attention to sealing the edges of your nails with the top coat by carefully applying the top coat to the very tips of your nails. This helps prevent chipping and ensures your manicure lasts longer.
Step 10: Dry Your Nails Sufficiently
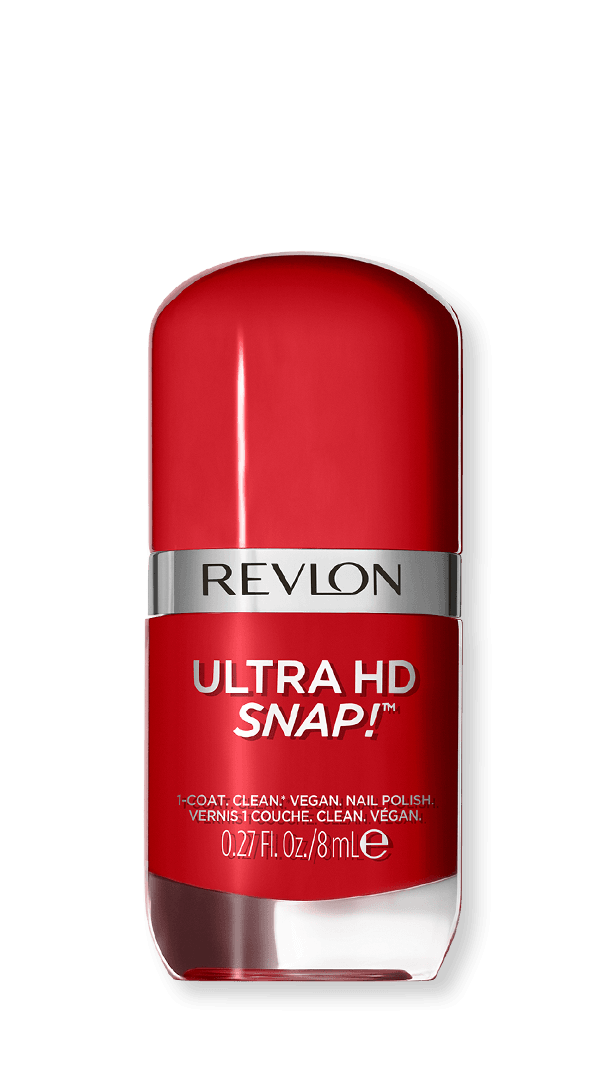
Drying your nails might take longer than you think, and patience is key to preventing smudges or imperfections. Quick-dry products like Ultra HD Snap!™ Nail Polish can expedite the drying process, but giving your nails ample time to set is essential to ensure a flawless finish.
How to Make Your Manicure Last Longer
To extend the life of your at-home manicure and enjoy beautiful nails for days, consider these tips:
-
Use High-Quality Products: Invest in high-quality nail polish, a durable base coat and a long-lasting top coat for a polished look that endures.
-
Protect Your Nails: Avoid submerging your nails in water for prolonged periods. Use gloves while doing dishes or any other activities that might expose your nails to water and chemicals.
-
Reapply Top Coat: After a few days, refresh your manicure by applying an additional layer of top coat. This not only adds shine but also reinforces the nail polish's durability.
-
Say No to Nail Biting: Resist the urge to bite your nails, as it can chip or damage your nail polish.
Bonus! Keep Nails Healthy and Hydrated With Cuticle Oil
Cuticle oil can be a valuable addition to your nail care routine. It helps nourish and hydrate your cuticles, keeping them healthy and promoting overall nail health.
Now that you have the know-how and the right tools, you're ready to achieve a salon-quality manicure at home. Enjoy the process, experiment with colors, and pamper yourself with a stunning DIY manicure using our collection of nail care, color, and tools.